SMTP configuration checklist
Good documentation for email delivery should be operational, not abstract. Teams need to know exactly which values to configure and how those settings affect password recovery in production.
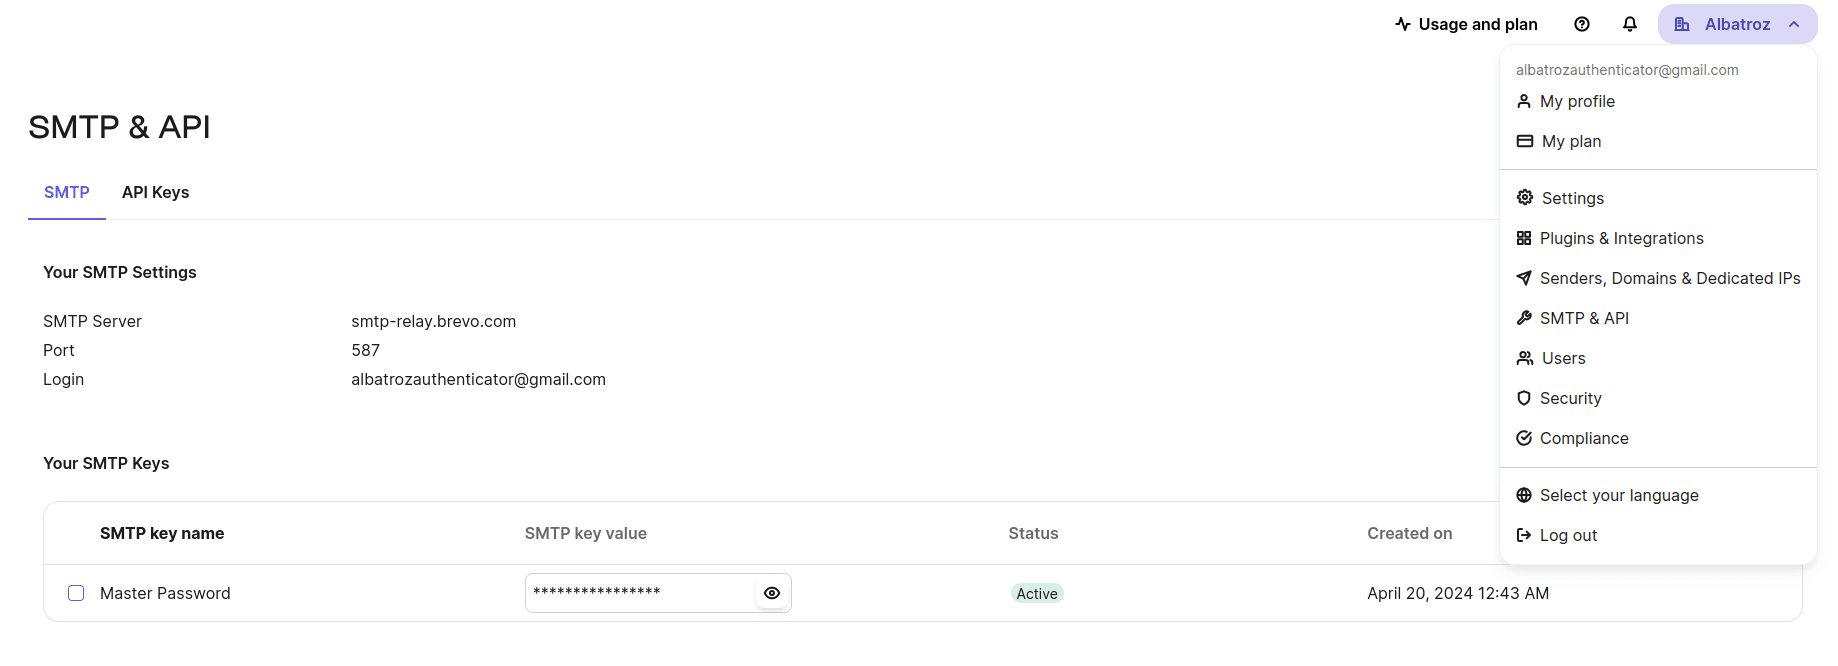
Set the SMTP host, port, username, and password from your provider.
Choose the correct transport security mode for that provider.
Use a from-address that matches your verified sending domain.
Test the delivery path before attaching the flow to live accounts.